
Designers and developers have always been the core of any product development team. Designers create designs using their drag-and-drop tools, and developers must translate them into pixel-perfect and interactive UI components on the screen. This handing-off of components from designers to developers has always been a challenge, especially to reduce efforts on both sides.
During the Android Dev Summit 2022, Google announced its solution for handing-off components to developers, called Relay (previously known as Material Design to Code.). Relay is a set of plugins (Figma, Android Studio,, and Gradle) that improves collaboration between designers and developers while handing off UI components.
Designers can use the Relay for Figma plugin to annotate and package UI components for developer use, including information about layout, styling, dynamic content, and interaction behavior.
Developers can use the Relay for Android Studio plugin to import UI Packages and generate pixel-perfect Jetpack Compose code. This process provides instant layout and styling implementation and speeds up the process of binding data. UI Packages can include styles and themes and reference design system components that exist in code. Relay removes the need for tedious design specifications and communication loops for small details. As your product evolves, UI Packages can be updated, extended, and adopted incrementally throughout your codebase.
1- Setup Relay for Figma plugin:
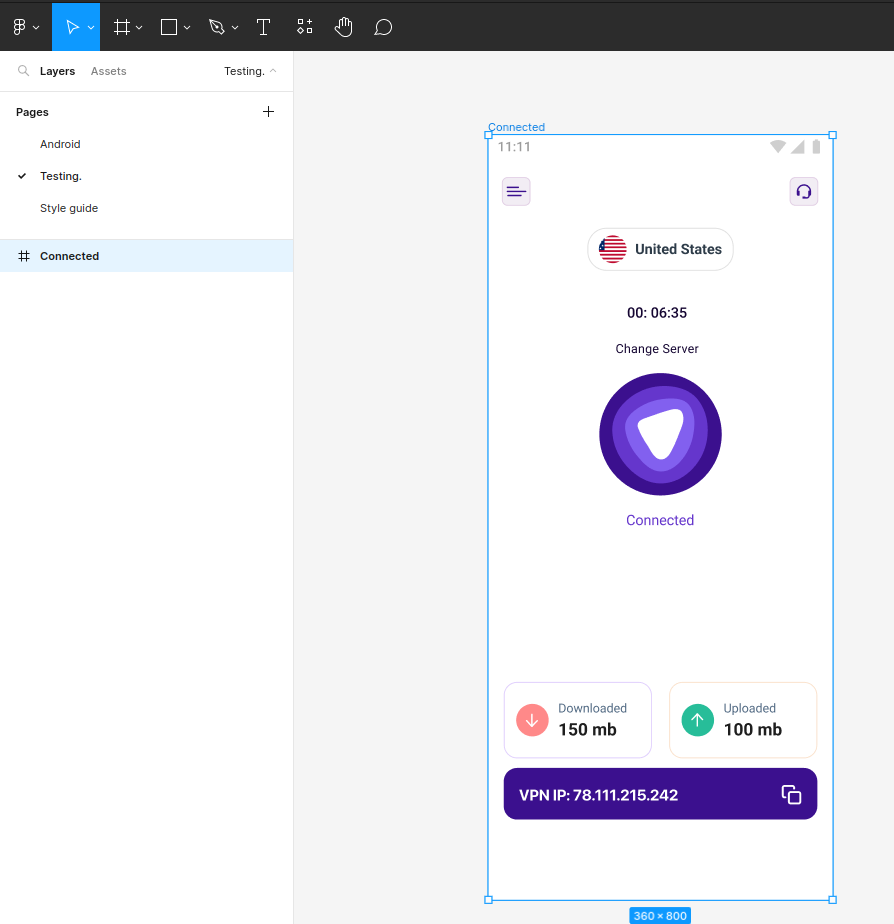
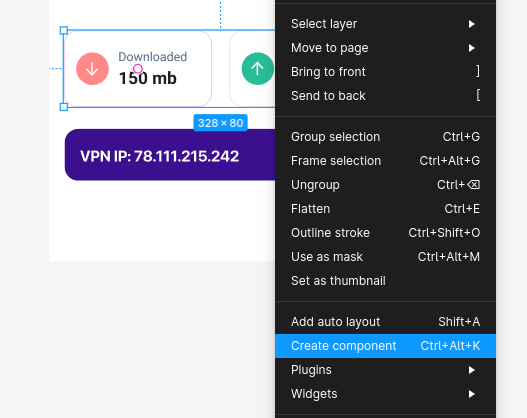
Pick any Figma design and make a Figma Component. Make your selection, right-click on the selection, and select “Create component.”
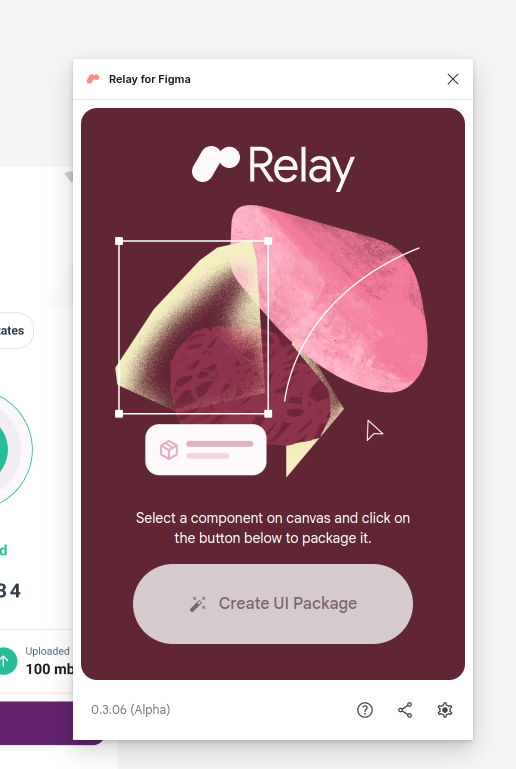
Now let’s add the Relay for Figma plugin. Click the Resources icon on the top action bar and select the Plugins tab. Type “Relay for Figma” in the search bar and click the plugin.

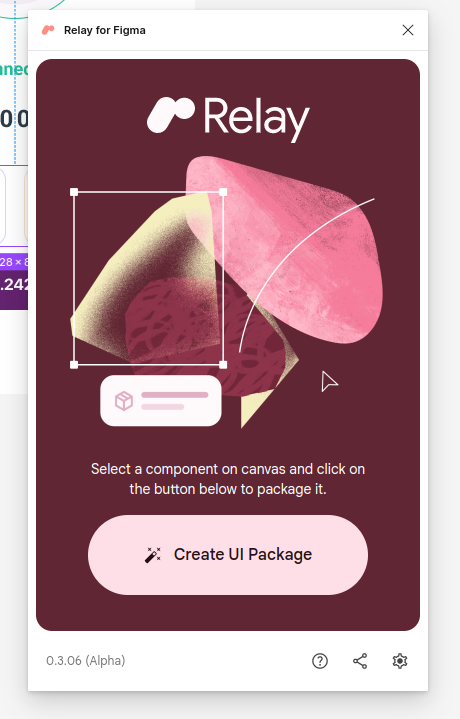
The following window will pop up. Close it for now, as it will be used later..
2- Setup Relay for Android Studio and Gradle
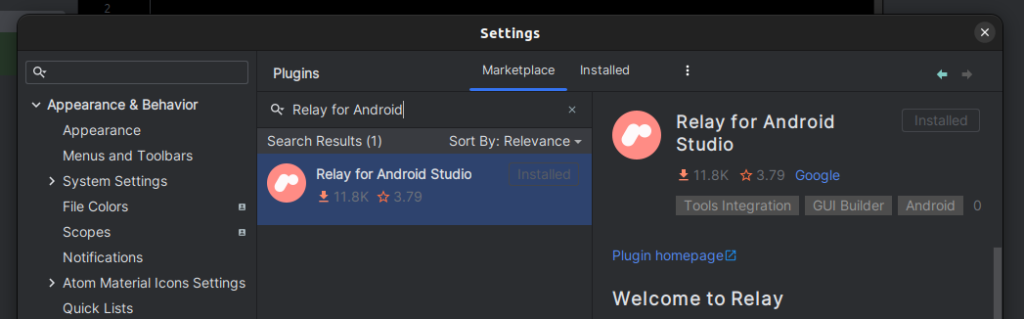
Let’s add the Relay to Figma plugin to Android Studio. Go to File -> Settings -> Plugins and select the Marketplace tab. Enter “Relay for Android Studio” in the search box and install the plugin. You may be asked to restart your IDE once the installation process is complete.
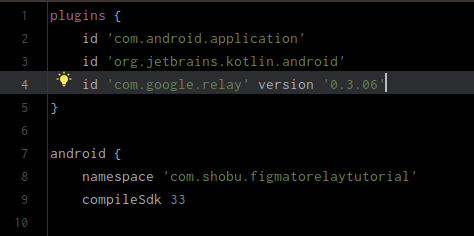
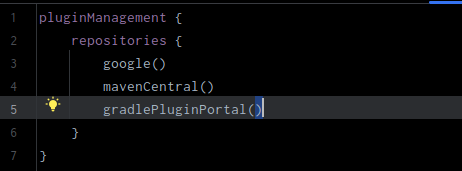
Add the following lines to your app gradle and project gradle.
3- Generate a Figma Personal Access Token.
- Login to your Figma
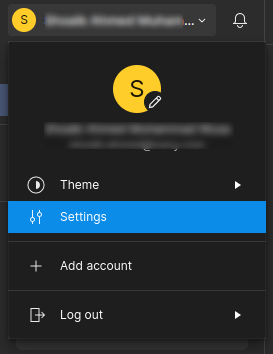
- Select your account icon
- Select Settings
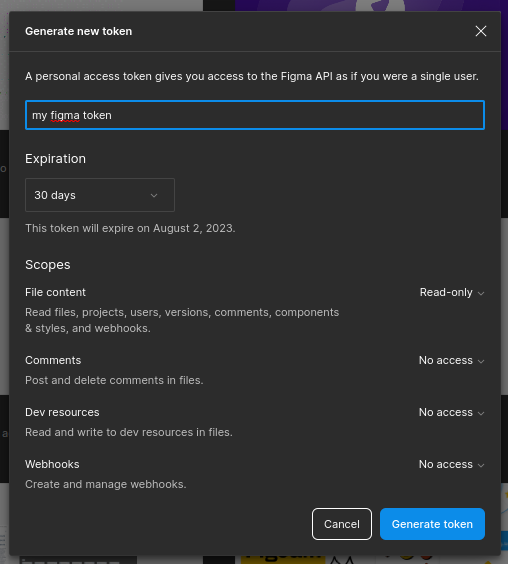
Scroll down to the Personal Access Tokens section and click Generate new token.
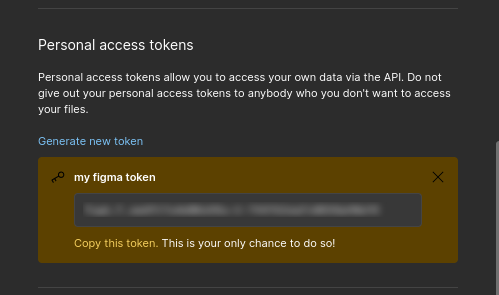
Add your token name, set your token expiry, and click Generate token.
Now your Figma token is generated. Copy it.
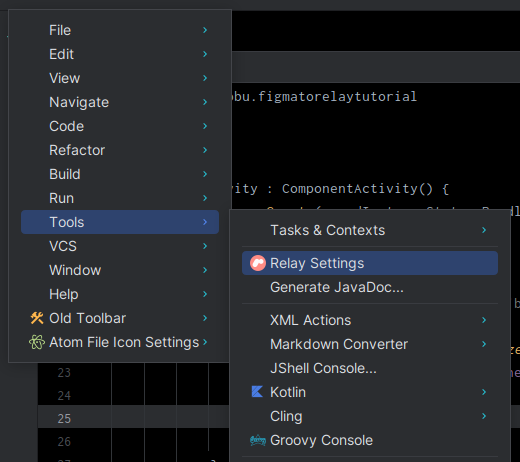
Open your Android Studio, select Tools -> Relay Settings.
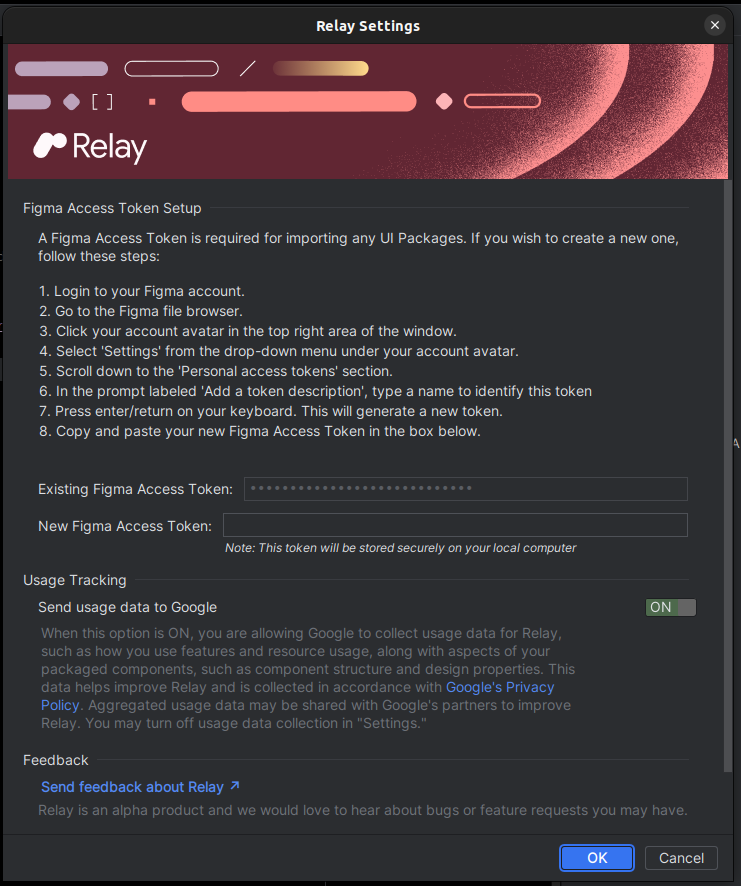
Paste the Figma access token you copied. Click Ok. You’ll also see your existing Figma access token if you have used one previously.
4- Import components from Figma to Android Studio
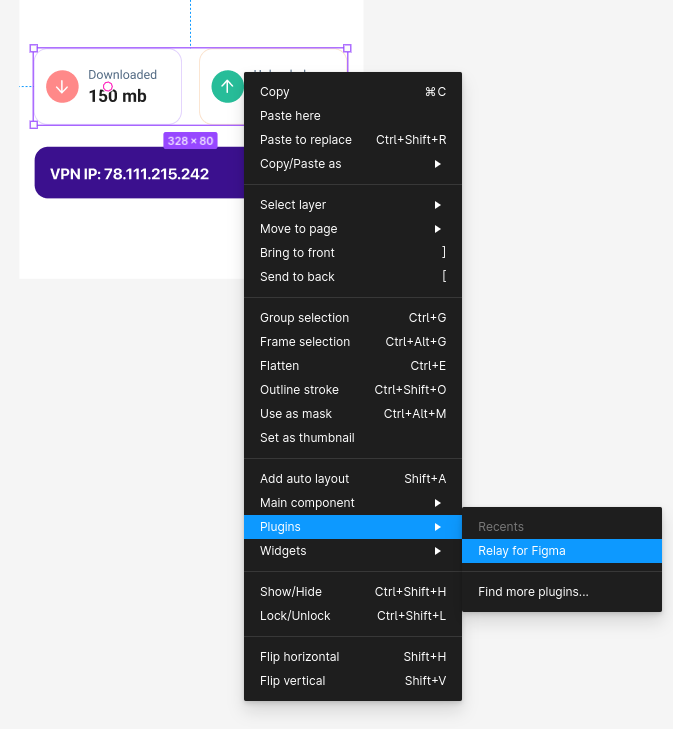
Right-click your component, go to plugins, and select Relay for Figma.
The following window will pop up Figma. Click on Create UI Package.
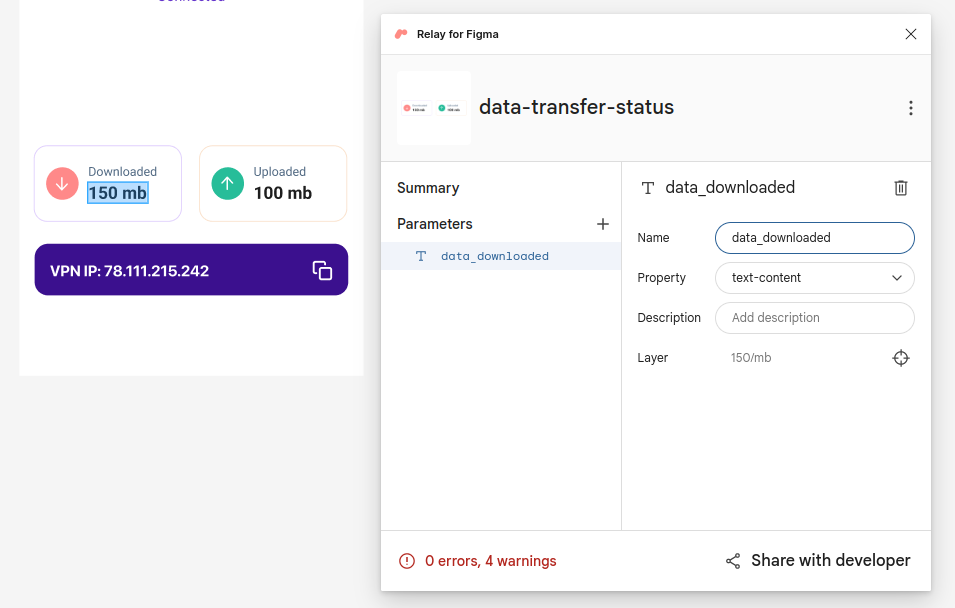
In the window below, you can set properties and data about your sub-components, such as assigning IDs to text fields, keeping names for buttons, etc. Here is one example
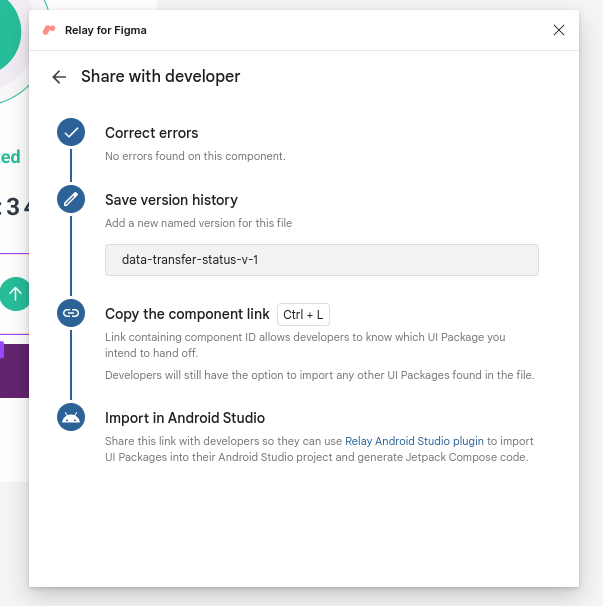
Once done, your component is ready to be shared with the developer by clicking Share with developer.
The following window will open. Here you can define a name or change message for your component. After writing the following, click save and copy the URL in the browser. Send that copied link to the developer.
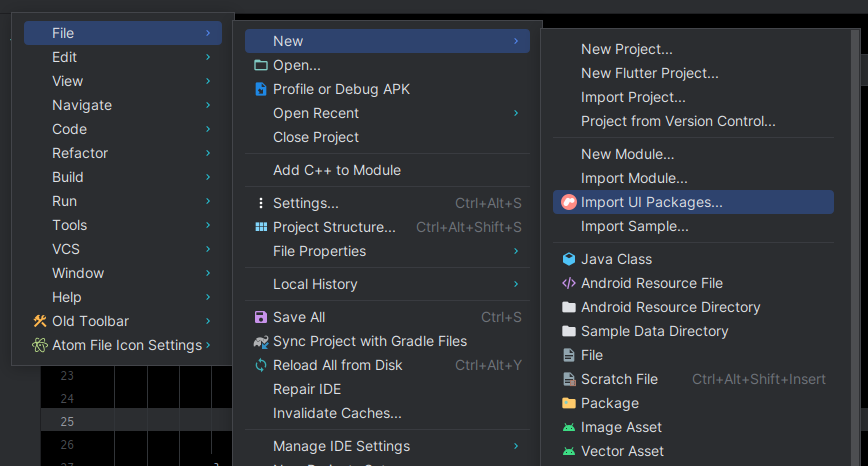
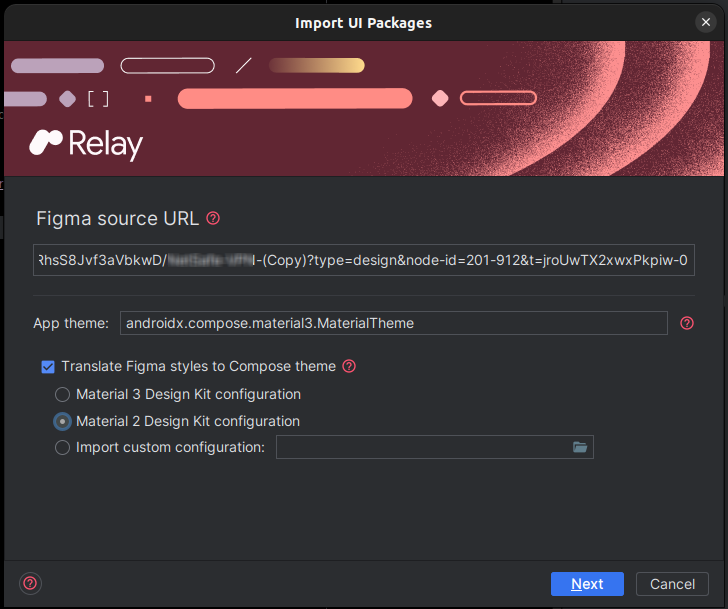
In your Android Studio, open File -> New -> click Import UI Packages.
Paste the link in the window. Select your Design System, then click Next.
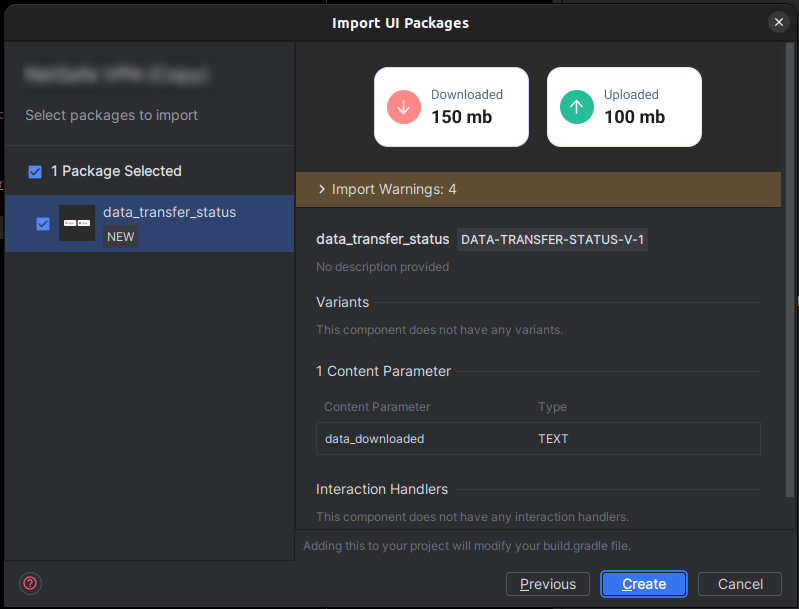
The plugin will start importing UI packages. After successfully importing, the following window displays all the imported components. After reviewing them, click Create.
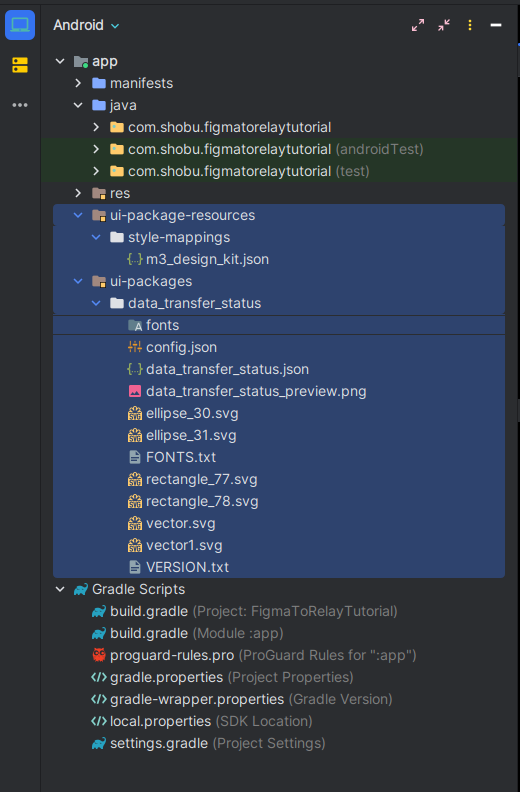
The plugin will generate meta-data for the component, such as images, vectors, colors, and fonts. The components will be ready to use after you run a successful build.
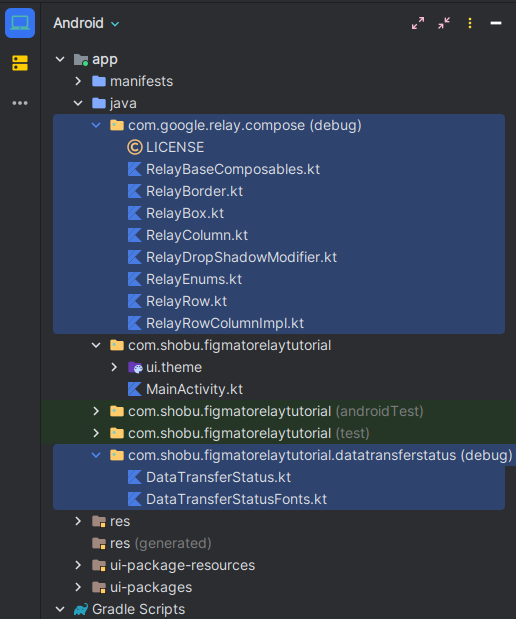
Click on the Hammer icon to build your project. Once the build is successful, you can see the generated kotlin files related to your component inside your project. The generated components are ready to use in your UI.
Note: These are generated files and Android Studio will not allow you to edit them. But don’t worry, you can copy the code onto your custom file and edit the composables there.
Below is an example of using the Relay generated component in a Composable Activity; you can also preview them like any normal composable.
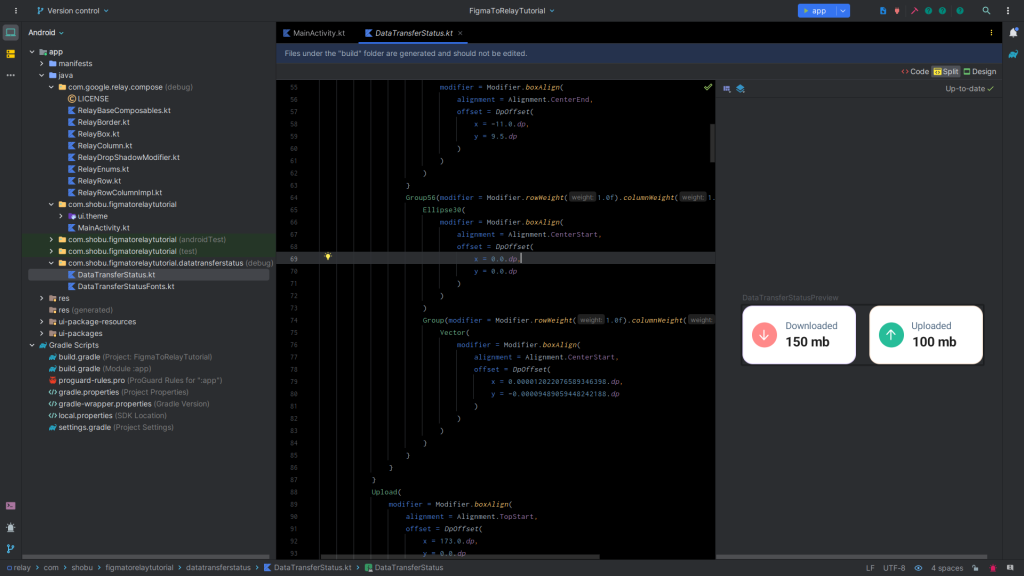
Upon running the application, you can see the pixel perfection of the component generated. Also, you can see that the text property defined during component sharing is also simple.
